Click here to sign up for 10% off your first order.|Free shipping for all orders to Hong Kong|Start Whatsapp live chat here
Click here to sign up for 10% off your first order.|Shipping fee for all orders to Macau - HKD 30 |Start Whatsapp live chat here
Click here to sign up for 10% off your first order.|Free shipping for all orders to Hong Kong|Start Whatsapp live chat here
Click here to sign up for 10% off your first order.|Shipping fee for all orders to Macau - HKD 30 |Start Whatsapp live chat here
HOLIDAY GIFT GUIDE
December 10, 2018 3 min read
Traveling with expensive and heavy DSLR camera gear can be a hassle. If not packed correctly it could damage your lenses, or camera body, or even knock against other valuable items in your bag. However, it’s totally worth it if you want to get that epic shot. Whether you’re heading out for the day, or going overseas, figuring out a how to safely pack your camera gear in a backpack is key. With that in mind, here a 3 easy steps on packing your camera gear safely in a backpack, with a couple of extra hacks at the end as well.
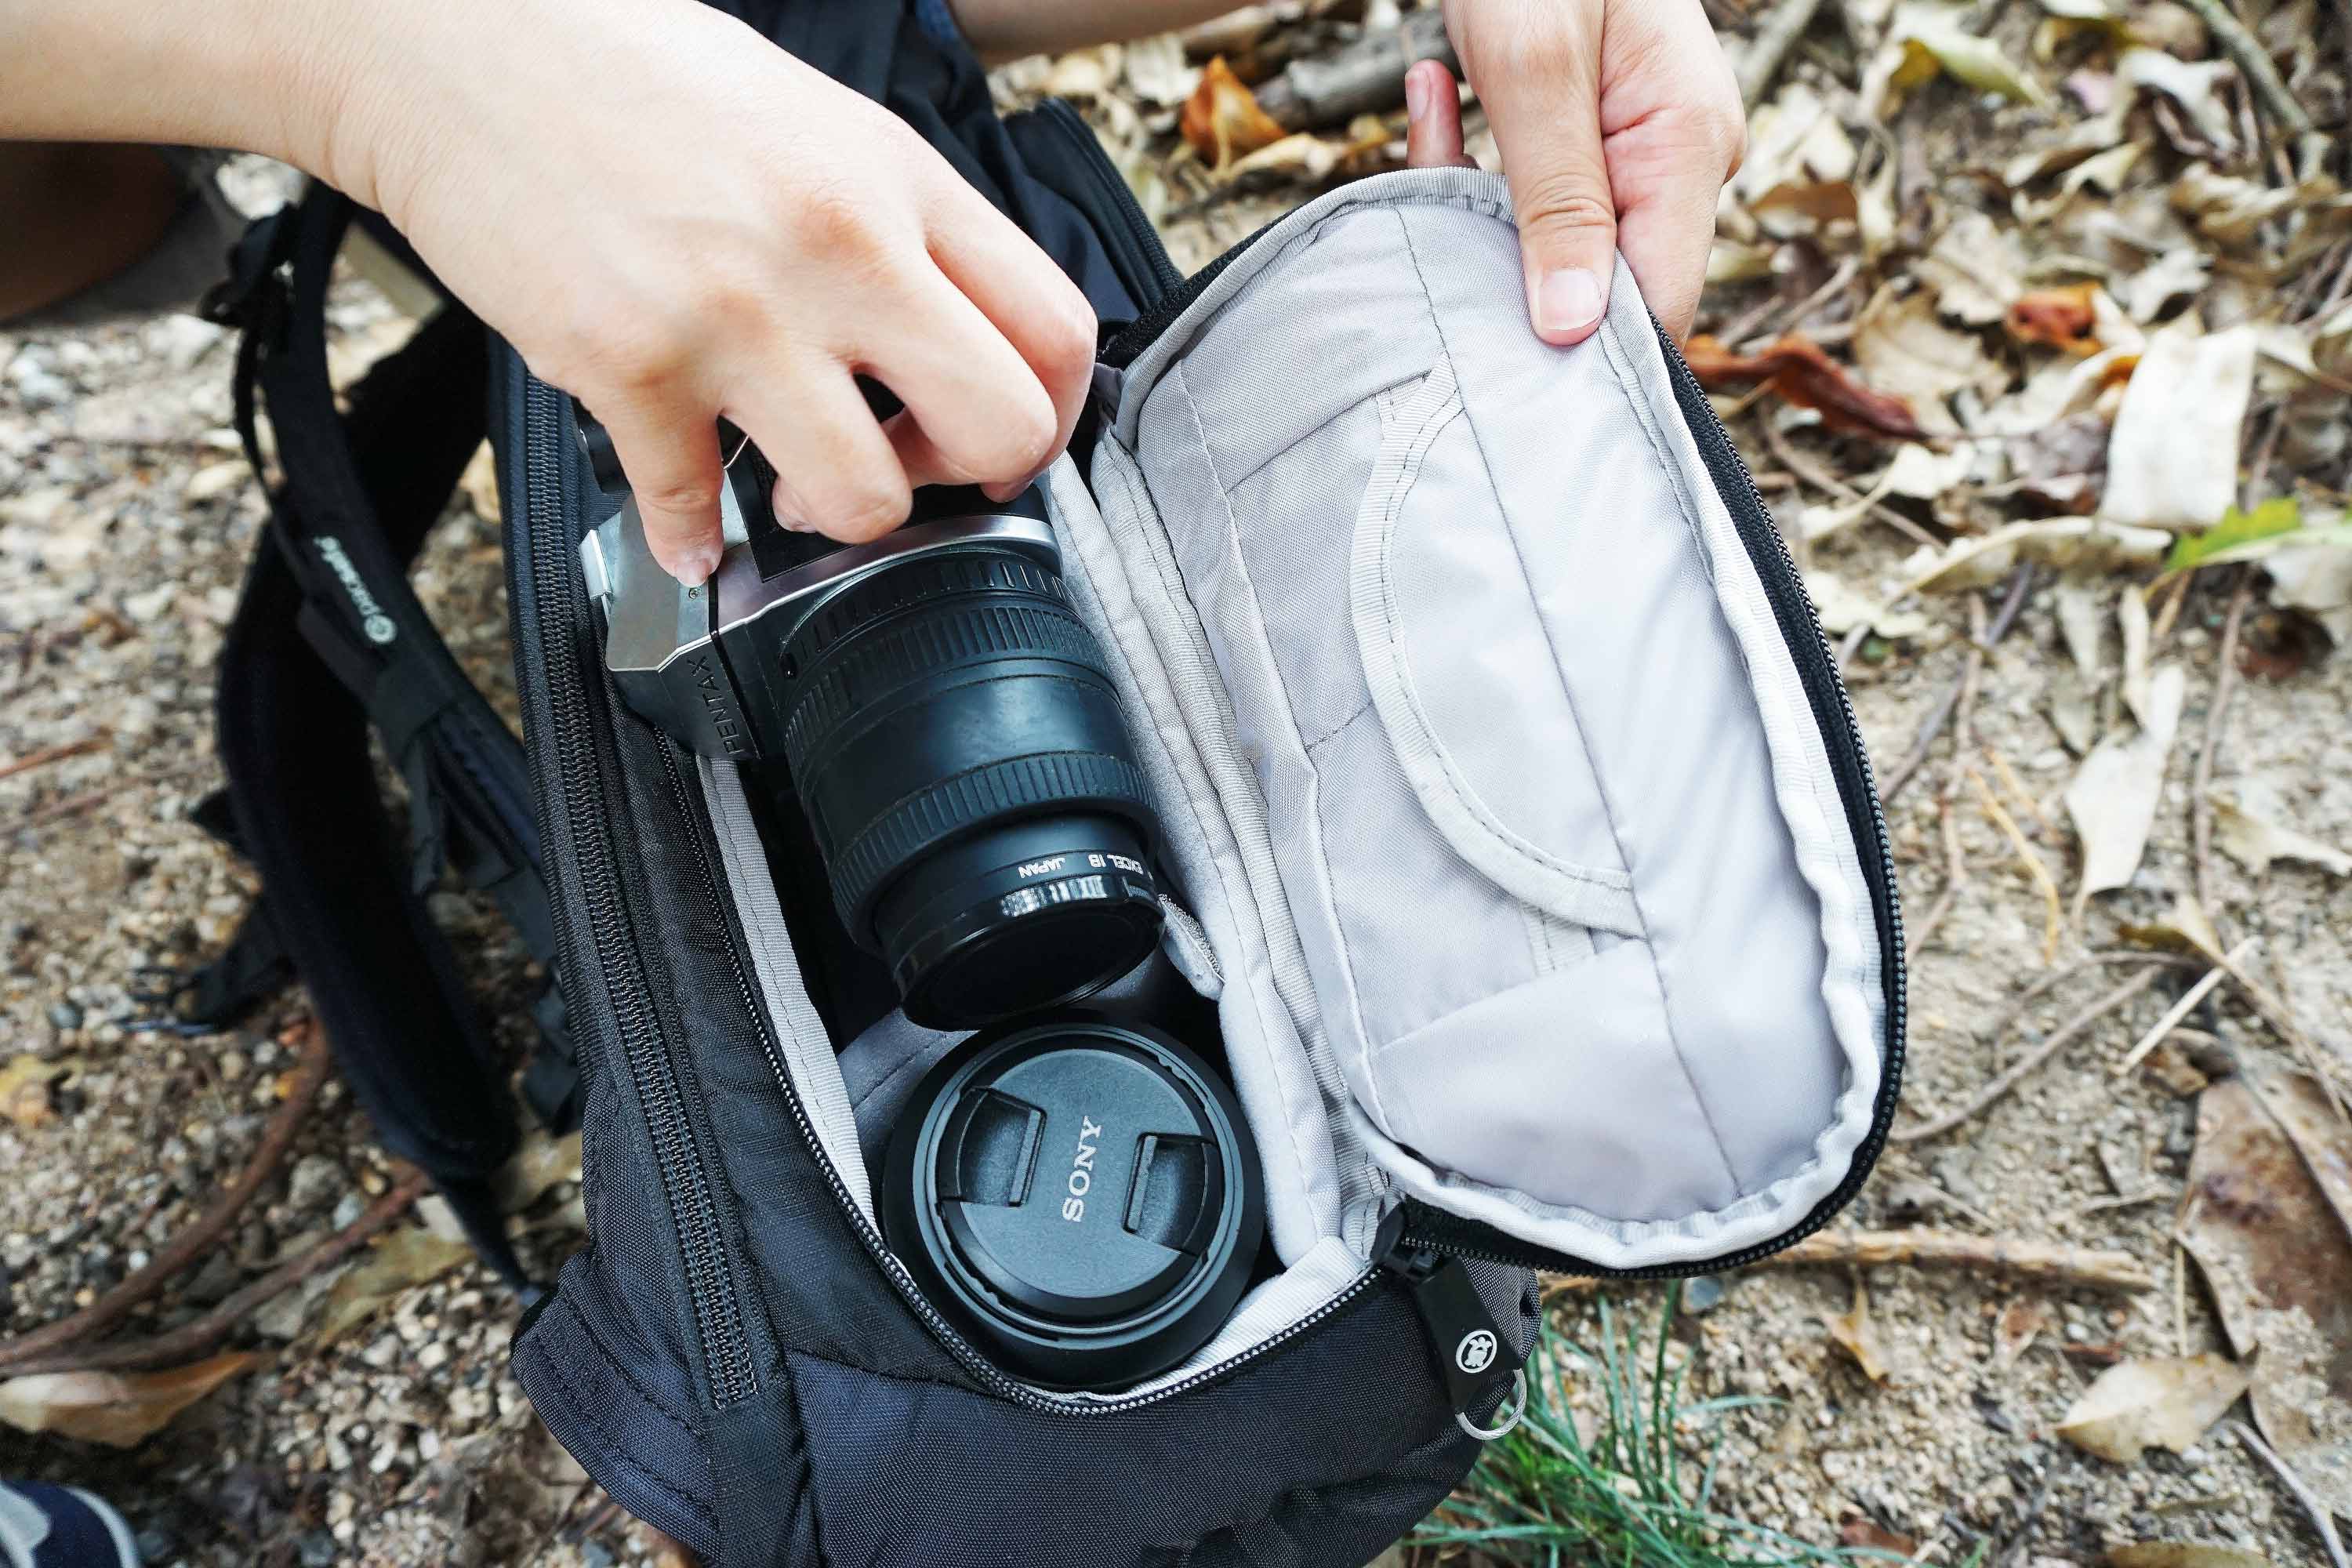
Separate your lense from your camera. Take your battery out. Unclip your camera strap. By breaking down all of the separate components, you’re avoiding unnecessary wear on any threads and moving parts when the camera moves around in your bag. There’s also the bonus that your camera won’t accidentally switch on mid-flight and drain your battery for when you arrive. A good habit to get into.
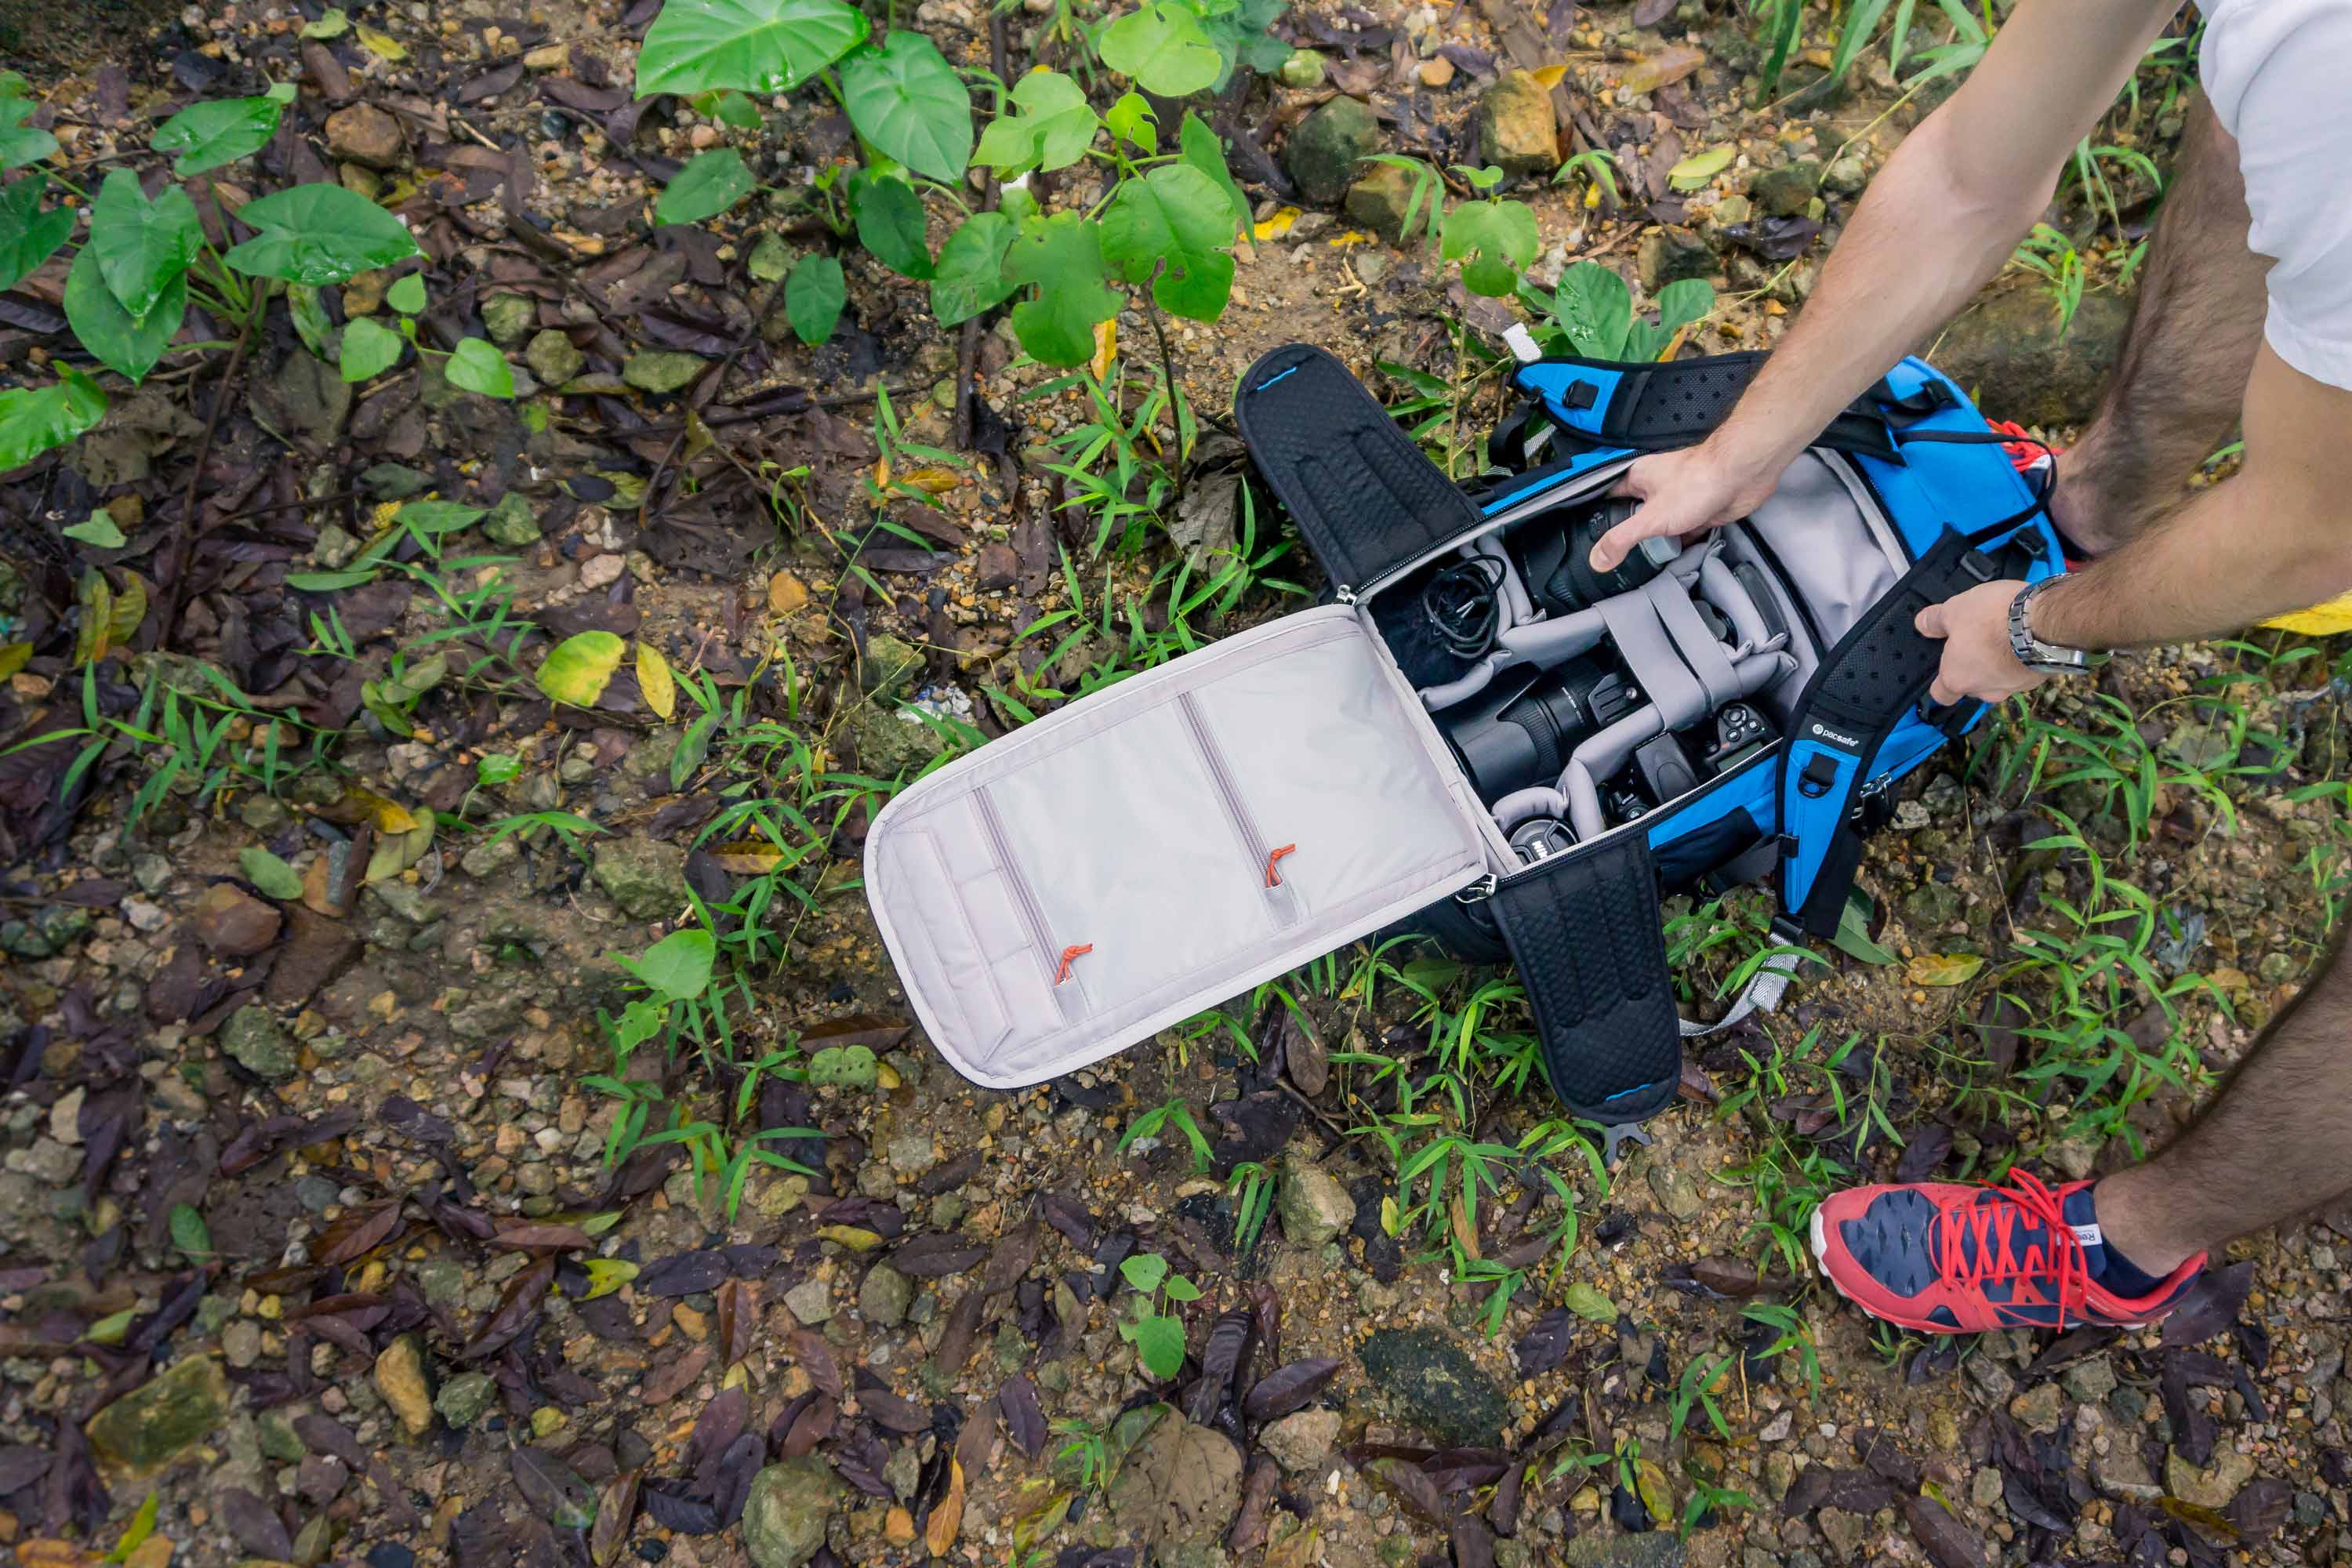
Protecting any lenses or your camera body against knocks is key when you’re travelling. Some people usededicated padded inserts, some use cloth wraps made specifically for camera gear. Both of those options are the preferred way, to preserve your gear the best. However, if you don’t have any of that stuff handy, use soft clothing like cotton t-shirts as your first layer and then something with more padded like a sweater as your second. As you pack each component in your bag, try to wedge a few soft items between each one too as some extra cushioning if you don’t have insert dividers.
Here’s a great video that shows how a professional photographer uses this technique to good effect, turning any backpack into a camera bag.
Your camera and lenses are the only things you’ll need to take on your trip. Usbs, memory cards, chargers, safety straps, extra lenses, light gauges. You want this stuff quickly on hand for when you need it. Considering a lot of extras can be quite small, make sure you choose a couple of zip pockets inside your bag to organize and store these things. A bonus tip is grouping like items. For example, put your spare batteries and charger in one slot. Memory cards and/or usbs can go in another. Different safety straps can go in their own place.
Waterproofing
You might want a rain cover for your backpack in case you get caught in bad weather. However, often spillsinsidethe bag can cause damage to your gear too. If you have toiletries or a water bottle in your bag, consider using plastic ziplock bags to protect things further. Simply slide the lense or body inside, seal it closed and voila. Protection against liquidy mishaps.
Anti-theft camera backpacks
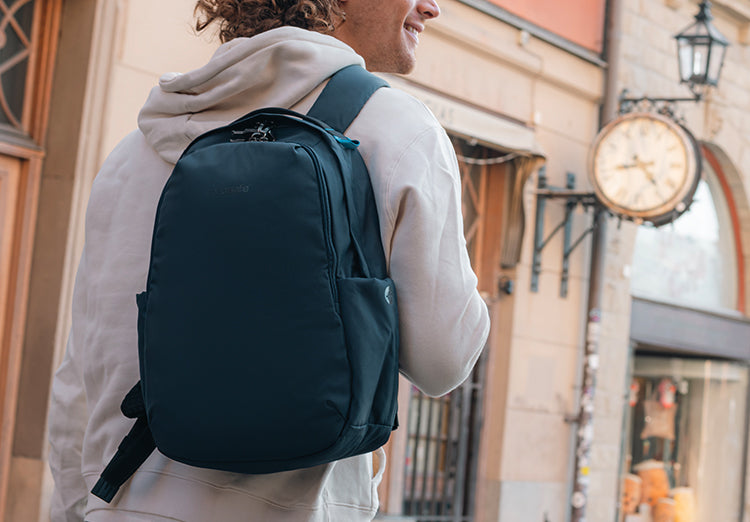
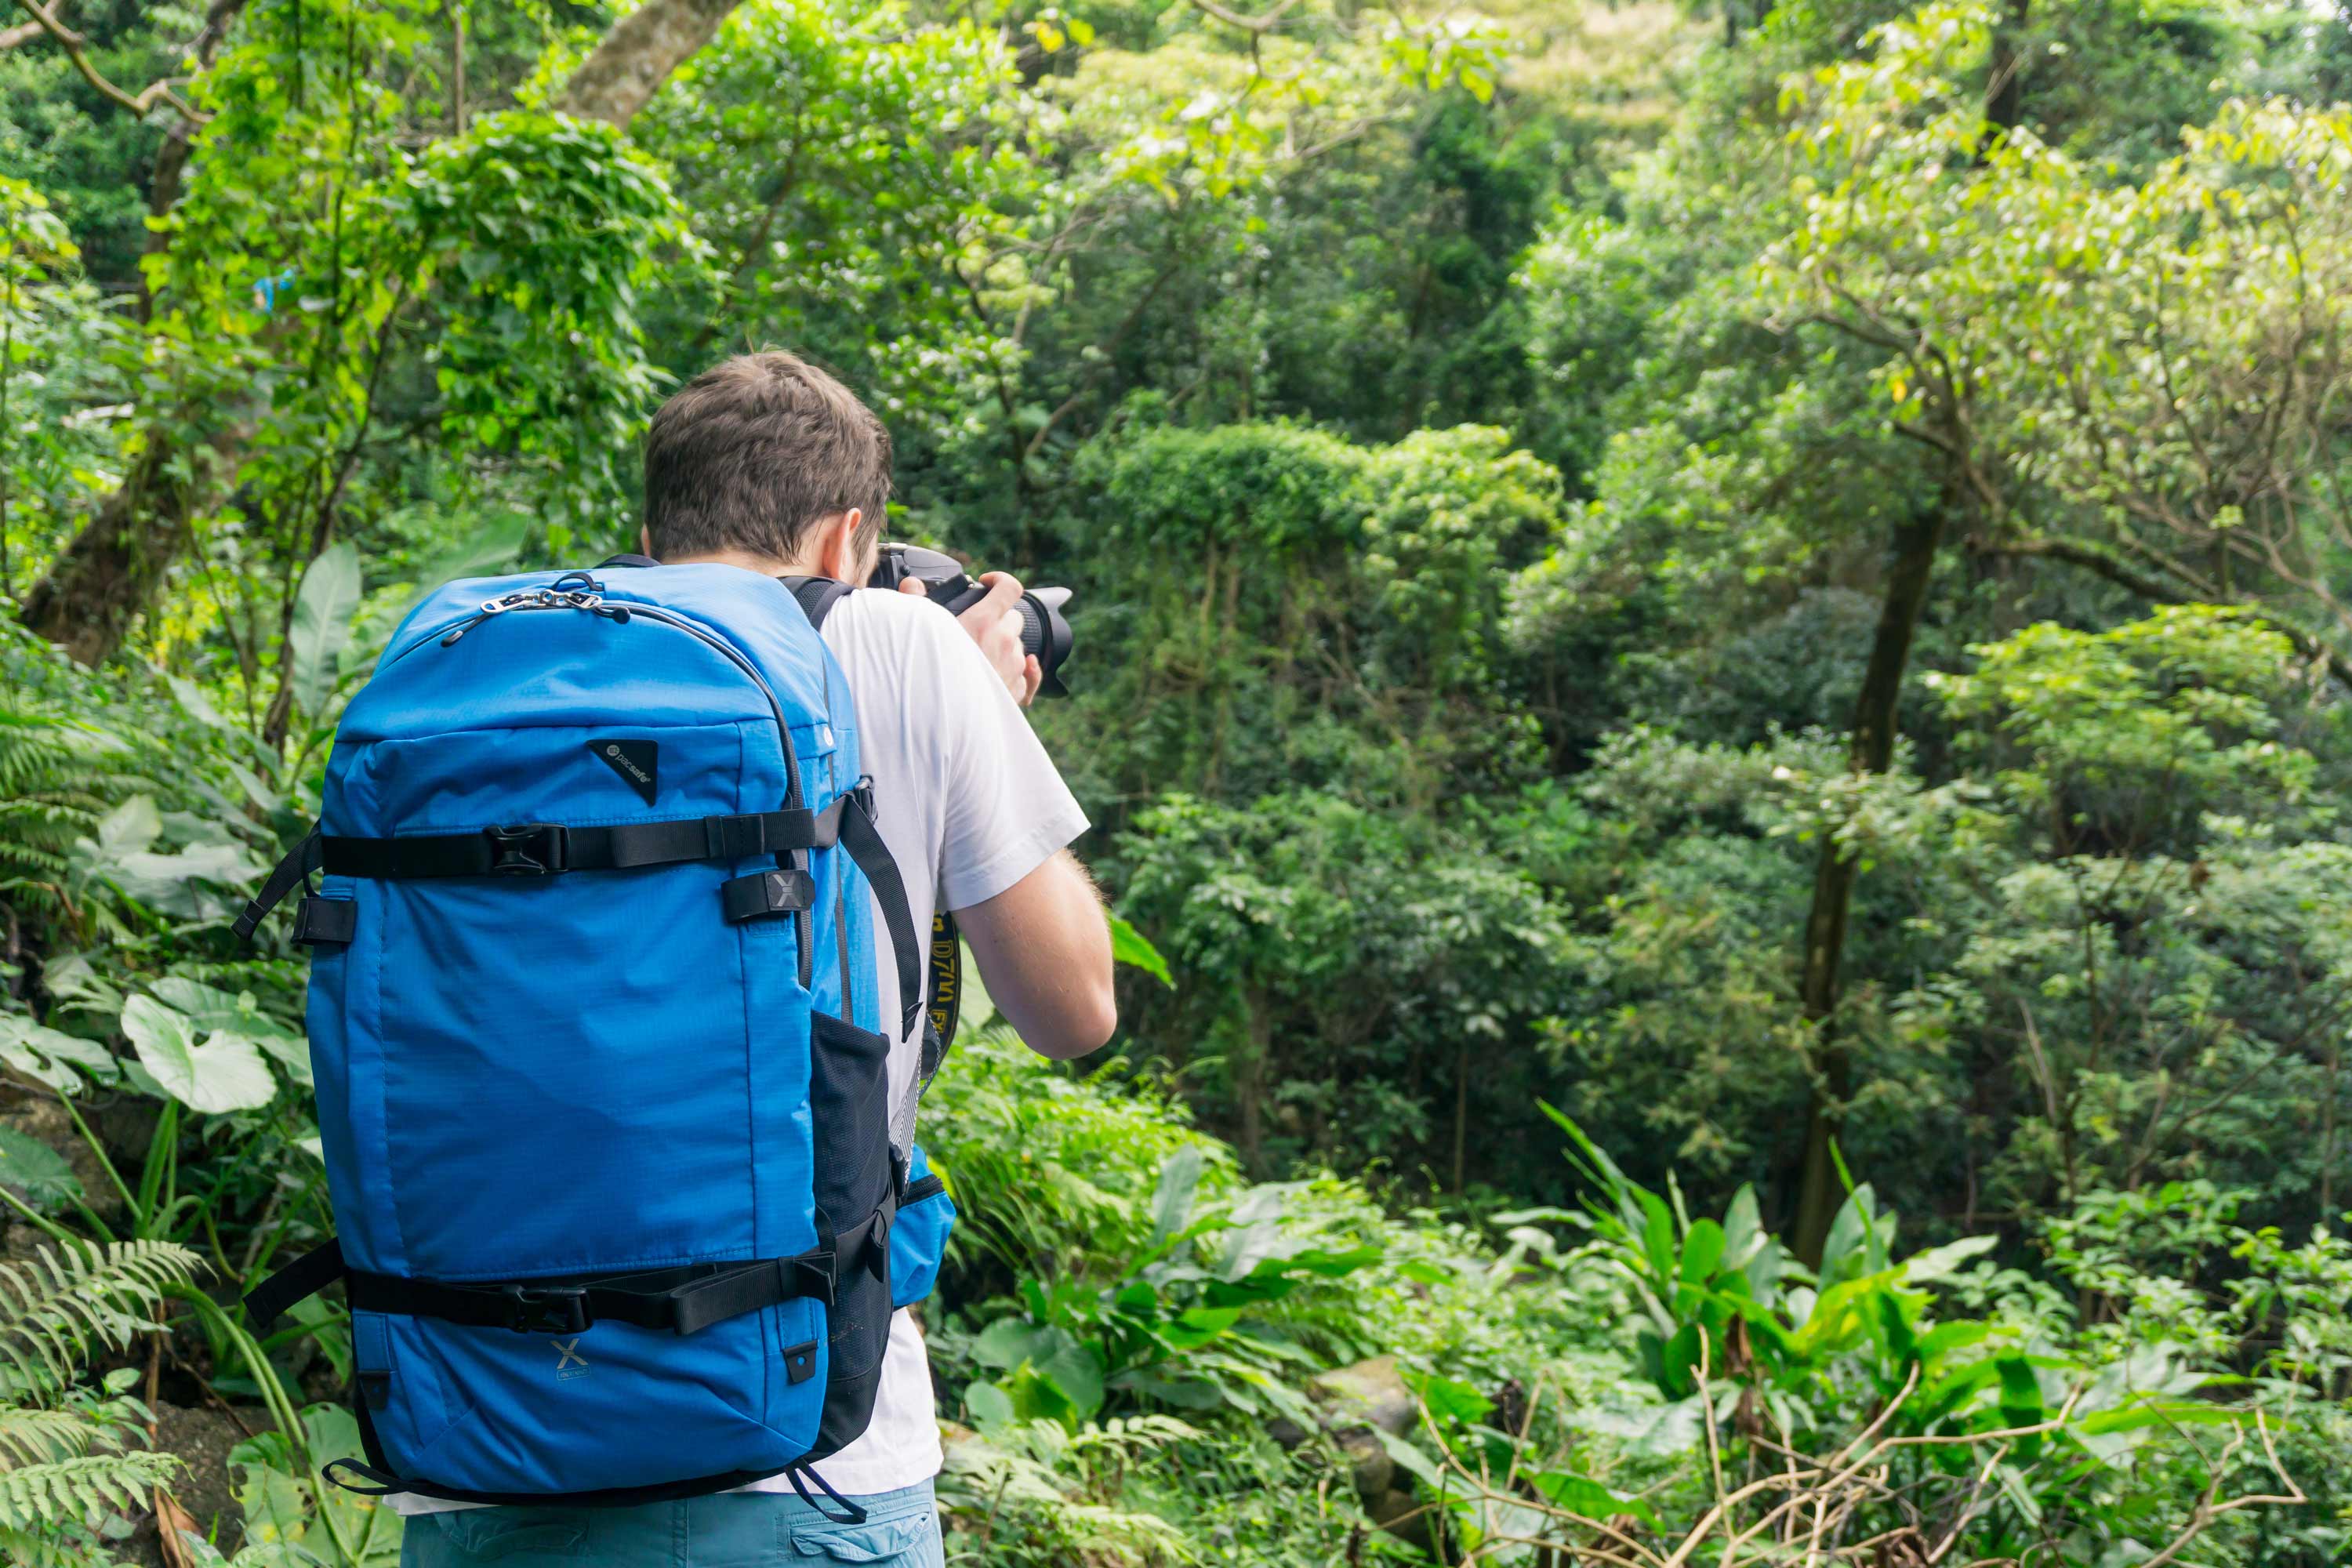
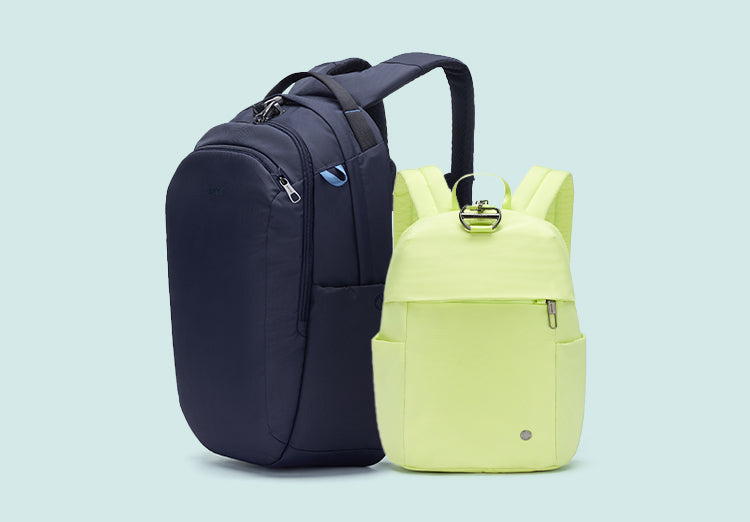
Your choice of backpack can often be more important than how you pack it when it comes to preserving your gear. It’s a good idea to think about finding bags with solid padding and materials, plus the added bonus of things like lockable zips. Here is a link to Pacsafe’s most popular anti-theft camera backpack for traveling and capturing this wonderful world.
We hope this guide was helpful and makes that next packing of camera gear into your backpack a little bit easier. Until next time, happy shooting and Safe Travels.
August 13, 2024 5 min read
Be the first to know about upcoming sales and promos. Get a 10% discount coupon when you subscribe!
Be the first to know about Pacsafe
product releases, news and content.